1930s Red Art Deco Dress - Simplicity 3106
Earlier this year I completed Simplicity 3106 in a double-layer, lightweight fabric for summer. I decided to pull the pattern out again, albeit with some adjustments. The first of which was the armscye - it was definitely too big, and the excess fabric on the front of the bodice restricted arm movement and made for a poor fit. The busy pattern thankfully hid this, for the most part.
 |
| This is the amount of change I'm talking. The solid line is the new, the dashed is the original. |
I made a mockup of the bodice and was so pleased with the fit! Everything sat so much nicer, and I could lift my arms all the way up. Happy days!
Let's talk about the fabric for a second. I picked up a bolt of what was probably originally intended for curtains in the 90's. It had a bit of a sheen, was fairly stiff, but most importantly had the wildest pattern I've ever considered purchasing.
It's so great! It's almost camo.
I washed a whole lot (I think this bolt has about 10 meters on it and I barely needed four) and the weird sheen came away, and it immediately gained a softer hand. Less like curtains now, it was ready to be made into an art deco dress.
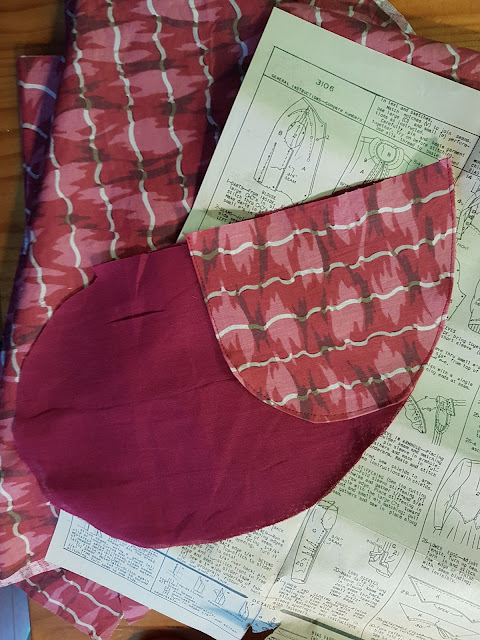
I threw together a pocket bag for the side without a closure, and I'm so happy I did. Every time I make a dress and get too lazy to make pockets I have so many regrets. They aren't too difficult, and aren't noticeable when worn.
One thing I didn't really factor into while cutting the skirt sections was pattern placement. I think it lined up well enough in the waist, but it didn't even occur to me to look at how the sides of the pattern fell. If I spent a little time here, I would have rotated the skirt panels 45 degrees so the stripes fell vertical down the middle and met diagonally at the side. There wasn't too much bias stretch in this fabric so I needn't have worried about it sagging too badly.
But just look at this side seam.
It's doing a number on me, really. I just tell myself no-one will notice it when I'm wearing it.
Apart from that slight hiccup, I'm really happy with the overall construction of this garment. Time to look at the details!
 |
| Please excuse the horrific tension issues on that one side |
Almost all the seams inside were finished with bias tape. Partially because I bought a whole bunch and needed to use it up - partially because I'm mad. I have a weakness for bias-finished seams!
Another feature of this dress is the addition of hand-stitched detail. While certainly not the most even stitch, I still love that I attached the two pieces this way.
The waist is reinforced and finished with bias tape, cut and sewn to match the triangular shape of the bodice. I think I've blanked this process from my mind; it must have been painstaking.
The closure uses just snaps. I feel like there should be a hook and eye somewhere in the middle to take the waist strain. Who knows why I didn't add it.
I decided to use contrasting fabric for the triangle flap things this time round. I love the dramatic effect! The buttons are original 1930's buttons from Etsy.
I'm not sure if I'll make this dress again. The waistline is such a mission to match up! I'd probably make an entirely new pattern from the bodice and just make a square waistline. I think it would be quite cute with a different closure down the front, and some patch pockets on the skirt.


Comments
Post a Comment